Categories

GTEM ESP32 ATM90E26 SDK v1 – Power Supply

WIKI:

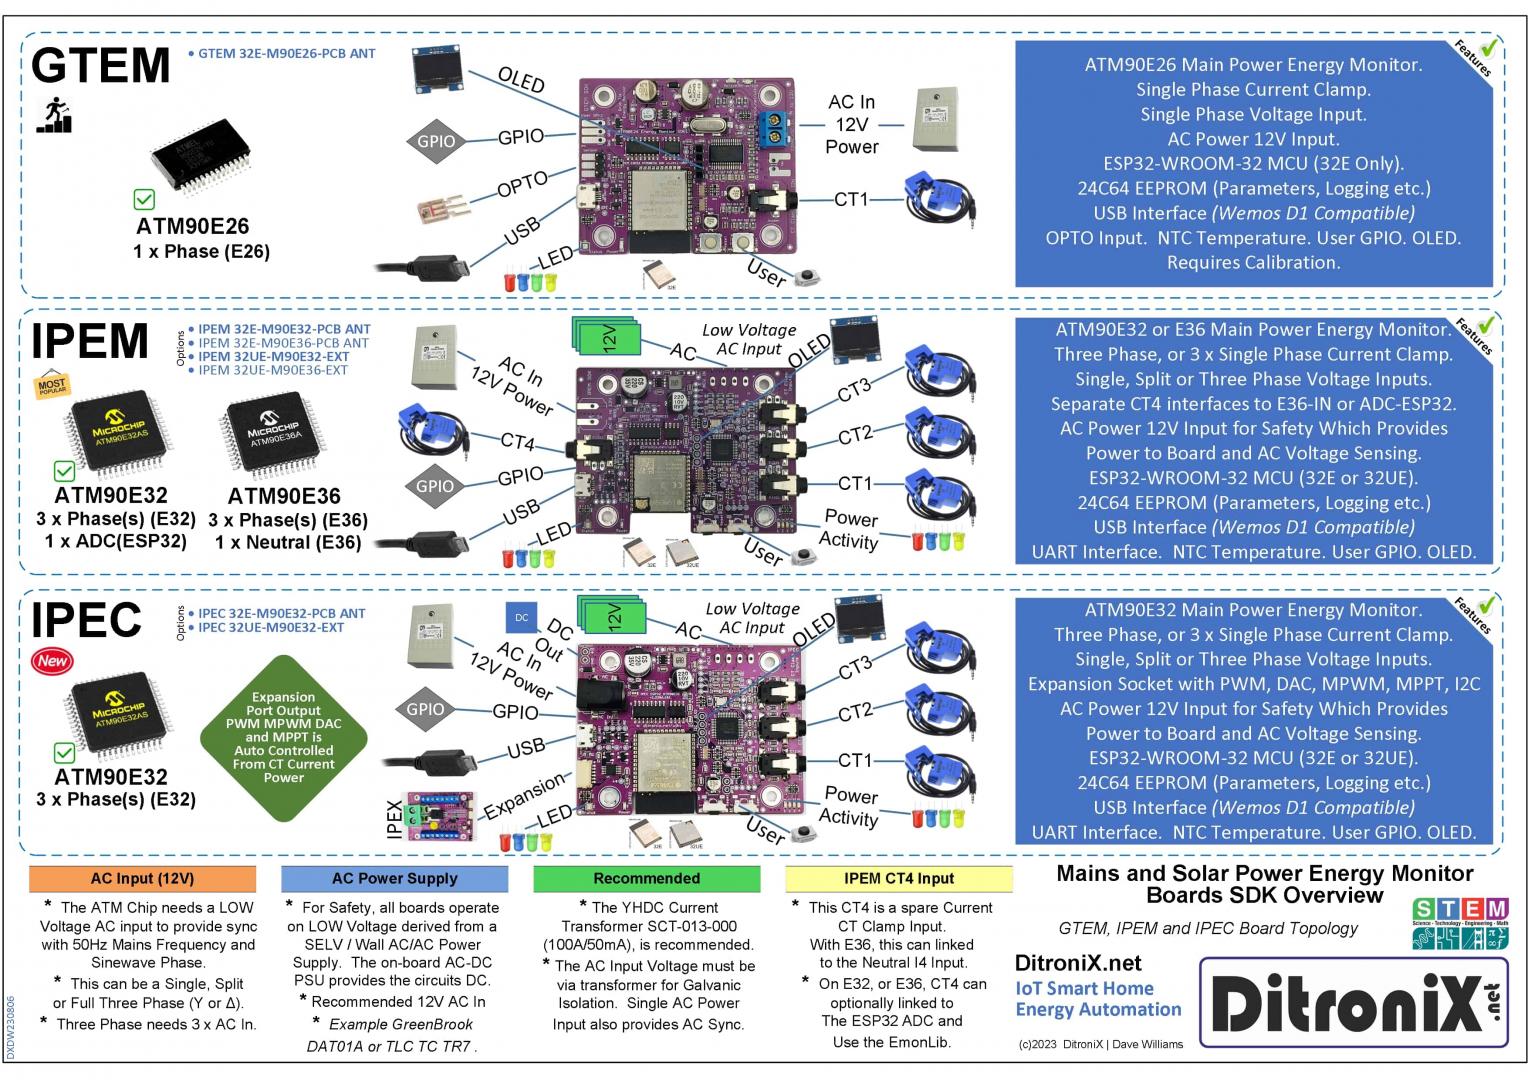
The GTEM board can be powered via either/both:

  • USB Interface 5V
  • AC into AC/DC Connector


The USB interface (via MicroUSB), can be used to power the GTEM board.  This is good for flashing and testing code.  The VBUS Diode is only used for protection, preventing any DC from external power supply input, so you can safely have both USB and AC input connected.

In order to make use of the ATM90E26 Energy Monitor functions, you will require to power the board via an AC power supply.


Examples of suitable Low Voltage 4 to 12V AC power supplies are bell transformers such as the TR7Byron Din Rail, or DATA01A Transformer.  These may vary in different countries but local sourcing should be straight forward.


The important point is that you must have AC output from the power supply and not DC output!   This applies when energy monitoring as it needs AC to operate.

The below shows a Greenbrook DAT01A Transformer 4/8/12V (note: this was modified so I can switch 4, 8 and 12V.  Plus added a LED to show is it powered).

The default output required is 12V AC, which off load is actually around 19V AC RMS.  This is fine as the DC buck regulator can handle up-to 32V input.

The AC input from the power supply is then split on the GTEM board:

  • AC sample is fed via a potential divider (ACV_IN), into the ATM device for voltage monitoring and AC frequency detection.
  • The AC is fed via a diode, to produce DC (+12V). This is then fed into the DC buck regulator to derive the required 3V3 for the circuitry.
  • A DC sample is then taken via DCV_IN, so we can monitor the voltage into the DC buck regulator.


The transformer secondary has taps, so providing  4, 8 and 12V AC output.  We need the 12V output, which is the outer connections.

Calculation will need to be adjusted in the Energy Setpoint Calculator GTEM Bring-Up Only Excel document.

This file and other code & information can be found on our GitHub 


Important Foot Note.

These Wiki pages are MOVING to the GitHub Wiki.   Simply select a repository pertaining to the board and click Wiki.


Other Details

Further information on this product may be found in our downloads and Wiki pages.  Other technical information and code examples are also shared in our GitHub Pages.  Project information may also be found on Hackster.io

We value our customers and should you have any other questions, please feel free to contact us.

Leave a Reply

This site uses User Verification plugin to reduce spam. See how your comment data is processed.
0

Cart Summary (Discounts shown at checkout)

    Product Price Quantity Subtotal

Basket totals

Subtotal £0.00
Total £0.00